
1969 Jaguar Vintage Car Radio Repair
Brief Restoration Report · 1969 Jaguar E-Type
An Easy Resurrection of Signal: 1969 Jaguar E-Type Vintage Car Radio Repair
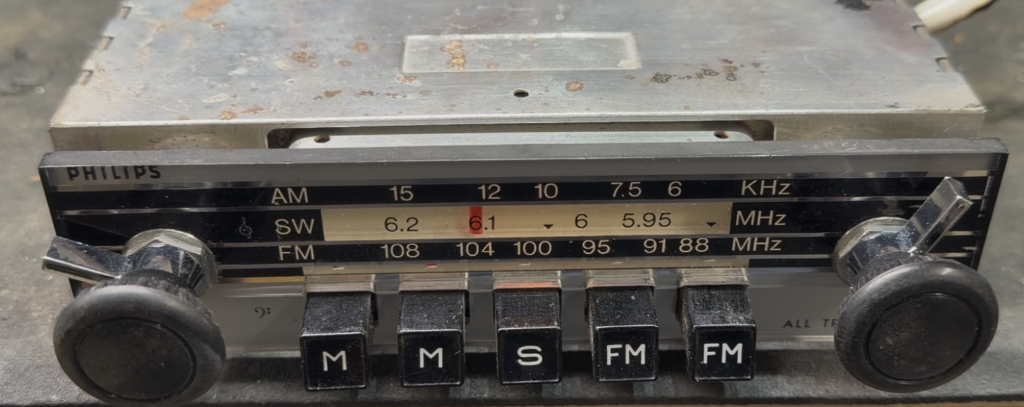
When a 1969 Jaguar E-Type radio glides into the workshop, it carries an aura of timeless British performance. However, a silent radio fractures that experience. Recently, We undertook a meticulous Vintage Car Radio Repair on an original Philips unit that had fallen into total silence — restoring not just sound, but the soul of the cabin. Refreshingly, this particular repair was a relatively simple one for a change, requiring no obscure part fabrication or impossible-to-source components.
The Diagnostic Phase
Upon assessment, the radio was found to be completely non-functional with zero power draw. First, we traced the main power and discovered the voltage was absent downstream of the main power switch. Consequently, we cleaned the switch contacts using high-grade De-oxit, which successfully restored power to the unit.
Furthermore, restoring power was only the beginning. The radio immediately exhibited an unacceptable current draw, threatening the delicate vintage circuitry beneath the chassis.
The Component Restoration
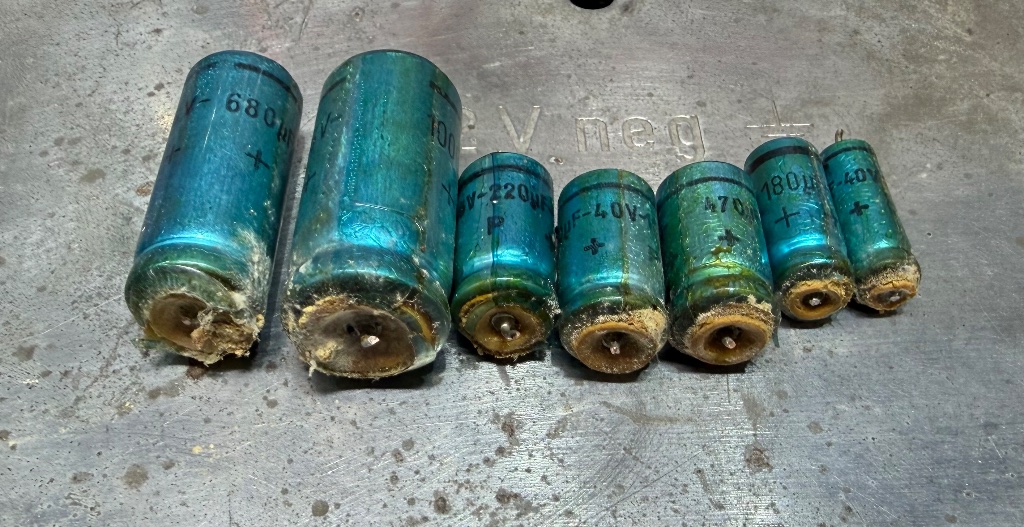
Next, we identified multiple electrolytic capacitors that were swollen and leaking electrolyte minerals — a common failure mode in electronics of this era. To rectify this, we disassembled the phenolic circuit boards from the chassis and replaced several compromised capacitors with high-quality modern equivalents.
The Signal Tracing & Final Alignment
Further assessment revealed no audio output across any of the bands. Therefore, we initiated signal tracing and found a strong source signal at the band switch, but nothing downstream. After a secondary cleaning of the band switch with De-oxit, functionality returned across all three bands — AM, SW, and FM.
Finally, we bench-tested the radio for 45 minutes. It now functions perfectly, delivering that iconic warm analog sound back to the Jaguar cabin.
The Restoration Checklist
- Switch Recovery — full De-oxit treatment for both the volume, power, tone and band switches.
- Capacitor Overhaul — replacement of all leaking and swollen electrolytic components.
- Resistor Calibration — all resistors checked, and any measuring out of spec by greater than 20% replaced.
- Precision Alignment — a complete RF and IF alignment performed after component replacement.
Trust the Experts
For world-class Vintage Car Radio Repair, trust specialists who understand the soul of vintage electronics. Ready to restore your classic's radio? Visit the experts at Retro Radio Shop Car Radio Repairs for professional restoration services. To learn more about the heritage of these magnificent vehicles, explore the Jaguar Daimler Heritage Trust.